There are two types of Brussels Griffon - the Rough and the Smooth. Both are equally delightful companions. The rough coated Brussels Griffon is probably the most common. The smooth coated Brussels Griffon is easier to groom.
The rough coat should be wiry and dense, the harder and more wiry the better. The Brussels Griffon should never look or feel woolly. There should be no silky hair on the Brussels Griffon. The coat of a Brussels Griffon should not be long and shaggy. The rough coated Brussels Griffon should be distinctly different all over from the smooth coated Brussels Griffon. The Brussels Griffon is a rugged little dog that should look natural and not overly trimmed. The Brussels Griffon colors are red, black and black and tan.
The head of a Brussels Griffon should be covered with wiry hair slightly longer around the eyes, nose, cheeks, and chin, which forms a fringe. The smooth coated Brussels Griffon is similar to the Boston Terrier or Bulldog, with no trace of wire hair.
Of all the toy dogs, the Brussels Griffon is one of the most interesting and different. The modern version of the Brussels Griffon is a Belgian street dog crossed with the Affenpinshcer. Throughout the years various breeds were brought in for various features. The most successful crosses were maintained. Over time the terrier-like charm with almost a human expression is what we now know as the Brussels Griffon.
The Brussels Griffon is a rarity among dogs, however, he has faired very well in the show world. Some have become top winners in all-breed competition.
Equipment needed to groom the Brussels Griffon:
Natural Bristle brush or hound glove
Medium-toothed comb
Fine-toothed comb
Thinning scissors
Tweezers
The Brussels Griffon needs brushing, bathing, drying, ear cleaning, nail trimming. The coat of a Brussels Griffon also requires hand stripping. Do not use clippers on a Brussels Griffon. The use of clippers will cause the coat of a Brussels Griffon to lose its natural texture and the color will fade.
For routine grooming use a natural bristle brush or hound glove. Regular brushing will reduce the need for frequent bathing. Regular brushing helps keep the coat free of dead hairs and the need for coming is lessened. Over-coming may take out too much live undercoat.
You should work through the coat with a bristle brush, then comb through with a medium-toothed comb. Leave a few hairs on the back between your finger and thumb and gently pull if the hair comes out easily, the coat is ready to strip.
Stripping Method for the body:
1. Start stripping the topcoat of the Brussels Griffon at the base of the neck between the shoulder blades down the back and side of the tail. Note: Always strip with the growth of the hair toward you.
2. Remove the long hairs from the Brussels Griffon thighs.
3. Remove the thick hair growing on the back of the hind legs, and the longest hairs from the front of the legs and feet. Do over strip in this area. The desired appearance of a Brussels Griffon feet are cat-like. Over stripping of the feet can detract from this cat-like look you want to achieve.
4. Strip the shoulders around to the chest. Remove long hairs from the leg.
5. Strip the long hair on the outside of each shoulder, down to the elbow. This will create a straight front which is desirable.
6. Strip the chest at the front to the lowest point.
7. The only place you may use clippers on the Brussels Griffon is under the stomach and around the genital area. You can also scissor this area clear.
8. Take a look at your Brussels Griffon as he stands on the grooming table. Remove all stray hairs that detracts from the smart, balanced look you want to achieve.
Stripping Method for the head of a Brussels Griffon:
1. Start behind the eyes. Strip only a few strands of hair at a time. Work back to each ear and over the top of the head. Leave some longer hairs ove fashion coats online r the eyes to form eyebrows.
2. Strip the back of the ears, down to the chest. Continue down the side of the neck toward the jawbone. This method of stripping gives a distinct beard that blends into the chest.
3. Comb the beard forward to enable you to pluck the ear and below the beard to the throat. You want a clean neckline and to accentuate the head.
4. Remove long hairs from the inside the ear. The edge of the ear can be closely trimmed with scissors for a neat finish.
5. The point between the eyes, just above the nose is called "the stop." This is a tender area of the Brussels Griffon. You will need to use tweezers to remove a small amount of hair in this area.
6. Remove the hairs from the corner of the eye with tweezers or curved scissors. This will prevent the hairs from sticking into the eyes of your Brussels Griffon and/or accumulating debris.
7. Remove the hair of the beard that adjoins the ears in a direct line from the corner of each eye.
8. Tidy around the anus of your Brussels Griffon with scissors or thinning scissors for a neat finish.
9. Trim hair from under the feet and between the toes.
Now you are ready to bathe your Brussels Griffon. Try using a natural mild shampoo and always rinse well. Check the dog's nails, ears and teeth. You may hand or cage dry your Brussels Griffon.
How often should your Brussels Griffon be stripped? This depends upon whether or not he is a pet or a show dog. For pets, a complete strip twice a year will be sufficient with tidying in between. For the show dog, stripping is ideally done in stages - side of body and legs first, then back, then head, because they grow in different stages.
Tuesday, November 13, 2012
Brussels Griffon Dog Breed Facts And Info

You Can Have Great-Looking Hands With These Steps
Do you see womens hand and wish yours looked as good as theirs do? Maybe you visit a manicurist frequently and need to save a bit of money.
While I do not recommend that you completely toss your manicurist because of the many benefits that are achieved through the hand and arm massa women's coats ge, I do think that you can cut back on these visits.
To make your hands look their best from home, you need to know how to do a proper manicure (sans the massage, which is not very relaxing to do to yourself).
To perform an at home manicure, you will need: a 4 way buffer, a pair of nail clippers, a soft toothbrush, cuticle oil, polish (base, color and top coat), a hand towel or washcloth, and a bowl filled with warm water and a mild, antibacterial soap. If you like, you may want to get a bottle of cuticle oil, but many men opt to avoid this step. Even if you have just washed you hands, you need to use the antibacterial soap in your water; if you should happen to cut yourself, you don't want bacteria to enter the wound.
Dip one hand in the warm water for about five minutes. Take it out, brush the tops of the nails and under the free edge (white tip), and dry with your hand towel (or washcloth). To dry the nails, rub the towel up your nail, pushing against the cuticle. If you always dry your hands this way (after hand washing, showering, etc), your cuticles will naturally become exfoliated and look neater. I do not recommend using cuticle nippers or scissors because they will cause your cuticle to become thicker in time.
Trim your nails using the nail clippers. This should not go into the corners of the nail as it can cause a variety of conditions (especially on toes when you cut the corners too deep).
On your 4 way buffer, you can feel the different grits by feeling how rough each section is. Use the roughest section and file the free edge, rounding the corners (you don't want to scratch anyone).
Using the surface that is the slightly smoother, go back along the edges, removing the filings that you can see. Rub your finger across each edge, smoothing rough places with this same section of the file.
Now, using the smoothest surface (aside from the grey, rubber section), lightly buff the tops of your nails to remove light ridges. Deep ridges cannot be removed because you file too much nail away trying to get rid of them.
This step is only used if you are not going to use any polish, buff the nail with the rubber section of your 4 way buffer. Apply a tiny amount of cuticle oil to each cuticle and massage into the nail and cuticle (you DO NOT want to apply cuticle oil right now if you are planning to polish you nails as the polish will not adhere to the nail properly and may take much longer to dry.
If you are using polish, apply your base coat now, taking care not to apply it too thick. Base coat is a must if you want to grow your nails or you are using colored polish. If you only want a clear polish, simply apply two coats of this base coat and let dry. Again, if you are ONLY using this clear polish, apply your cuticle oil, applying a tiny amount to each cuticle and massage into the nail and cuticle.
Wednesday, July 18, 2012
ORIGAMI SKIRT

You might understood that one of my must-have for the summer are skirts: No matter which is the pattern, what matters is that they special enough to get everybody's attention. This wonderful Origami skirt found on Bones is the perfect example of what I love: candid, elegant but unusual. In one word: perfect. Personally love it. I hopeyou like it too!


Thursday, July 5, 2012
star printed dress

By the way: I've picked the winner of my giveaway by random. Check out my facebook page to find out if you won. :)
Thursday, June 21, 2012
My little Angels


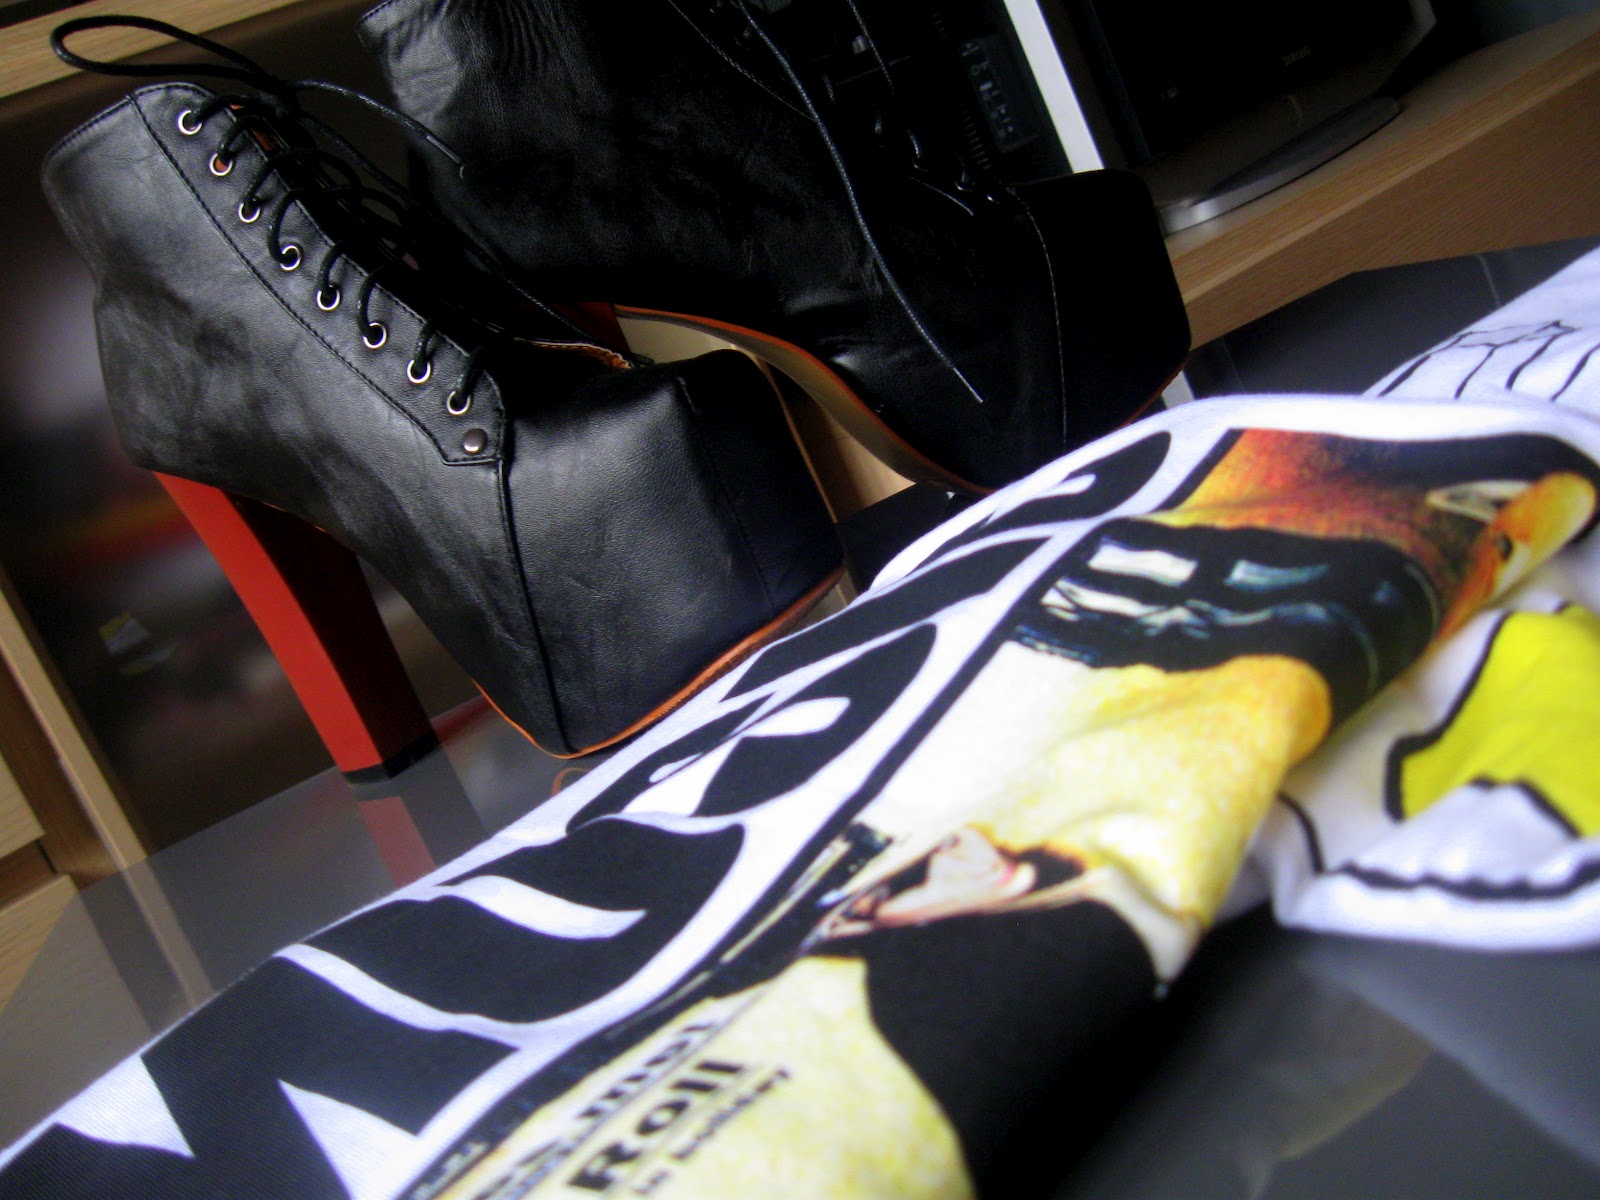
new in

Kilka dni temu natknęłam się na pierwsze wyprzedaże w RESERVED. Moją ciekawość i uwagę przyciągnęły ceny t-shertów. Spośród różnorodnych wzorów wybrałam dwie, moim zdaniem najładniejsze. Każda kosztowała jedyne 19,99 zł. Urzekły mnie niebanalne aplikacje na koszulkach, które świetnie można skomponować nie tylko z krótkimi szortami czy jeansami, ale także z fajną kiecką. Do tego wszystkiego kurier przyniósł mi długo wyczekiwaną paczkę z litami <3! Buty są nieziemsko wygodne, oraz wyglądają bardzo zgrabnie. Aby Wam to wszystko pokazać zrobiłam kilka zdjęć.